
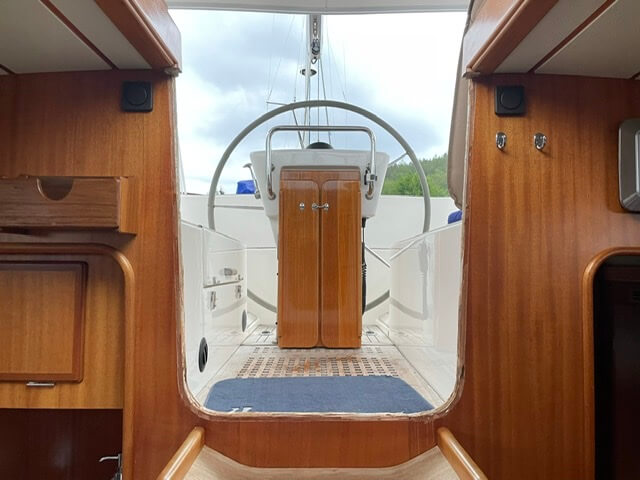
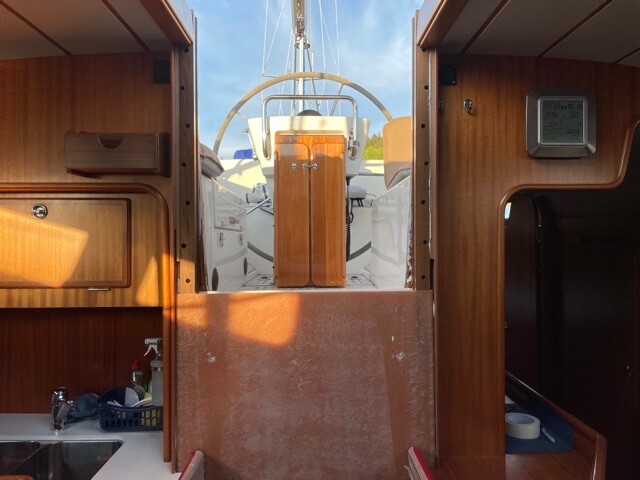
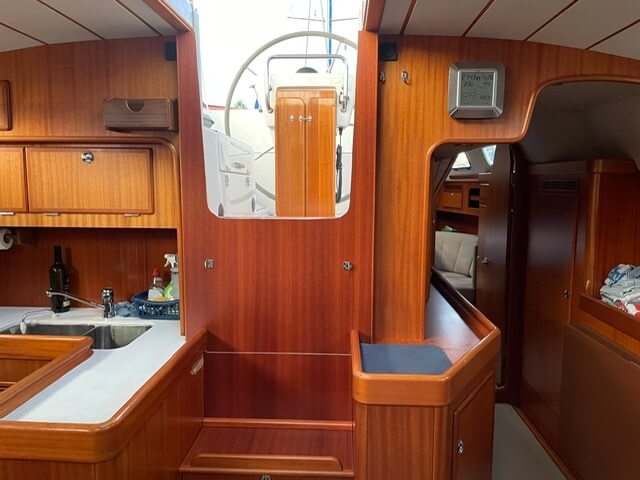
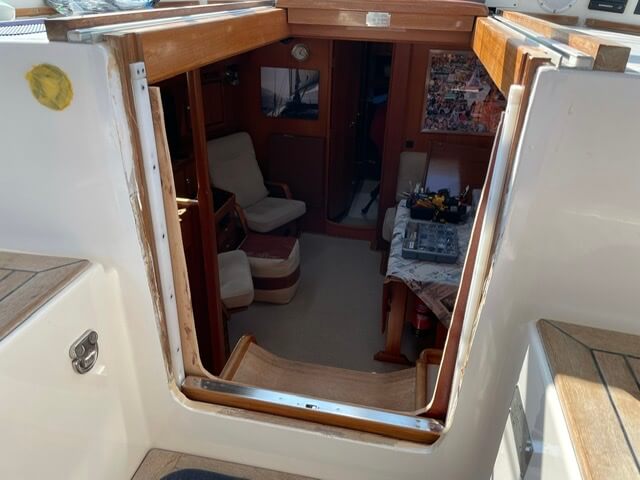
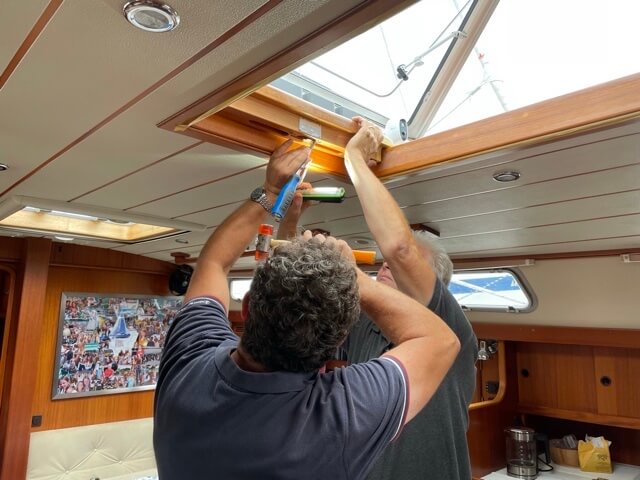
We have a beautiful new companionway with a retractable door instead of the two separate hatches that you have to slide in and out each time. It took a lot of perseverance on Toine's part 😎!!! Hallberg Rassy was very reluctant to supply the materials as they were afraid that this conversion would not be possible in an existing boat and therefore would not be Rassy-worthy. They obviously want to keep their brand high and that is to their credit!
Thanks to Toine's belief in the solution and his tenacity, and Carl's support in this, Rassy eventually supplied the materials. That's good, because we want to keep the boat as original as possible.
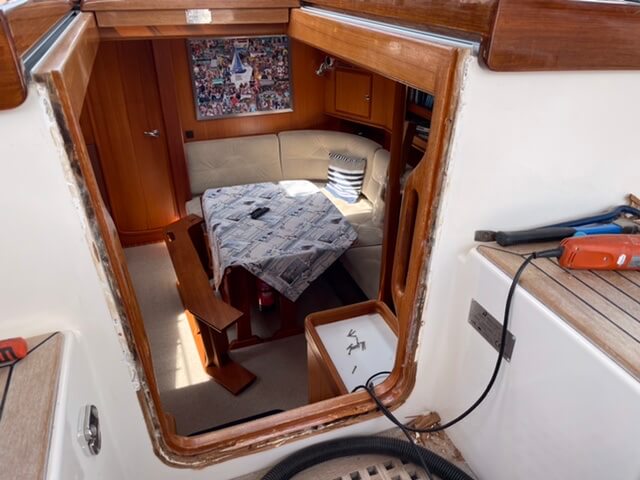
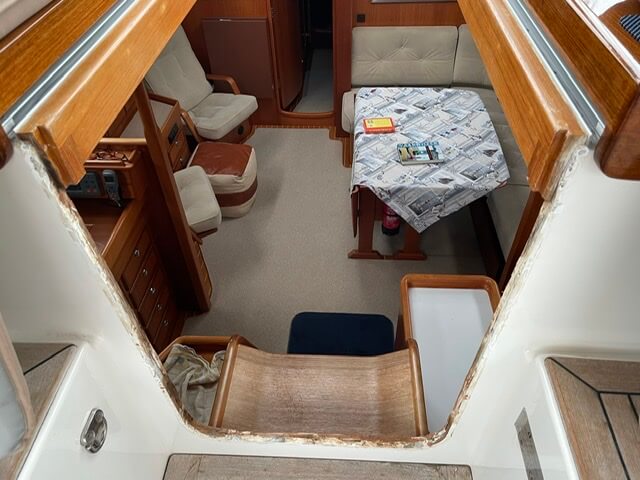
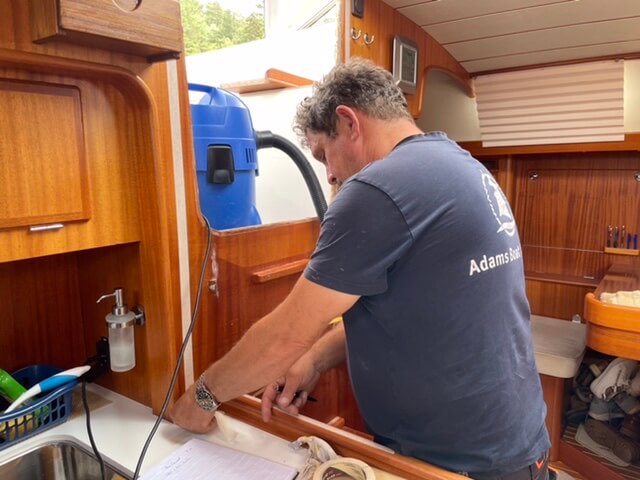
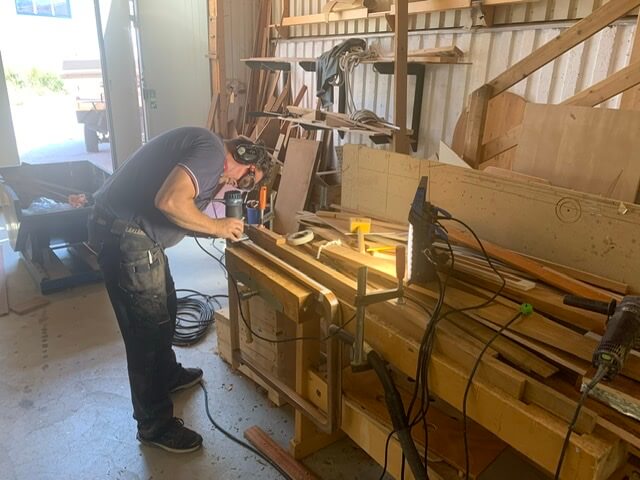
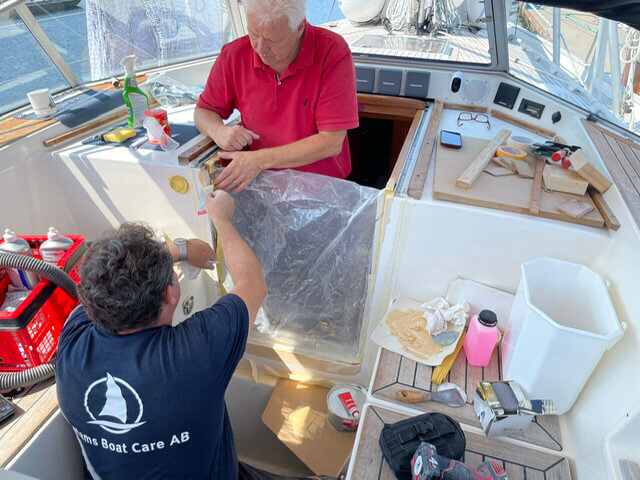
It is a complex and challenging conversion because it is the first time this has been done on an existing Hallberg Rassy and there is no ready-made step-by-step plan on how to go about it. The step-by-step plan was made by Carl in coordination with Toine. Carl also has good connections with the specialists at Hallberg Rassy who give him tips. Thanks to the expertise and creativity of Carl and Anna and the pleasant cooperation during this entire process, it has really become a beautiful result. We are extremely happy with it 😊👌.
Below is a step-by-step explanation of the refit.
-
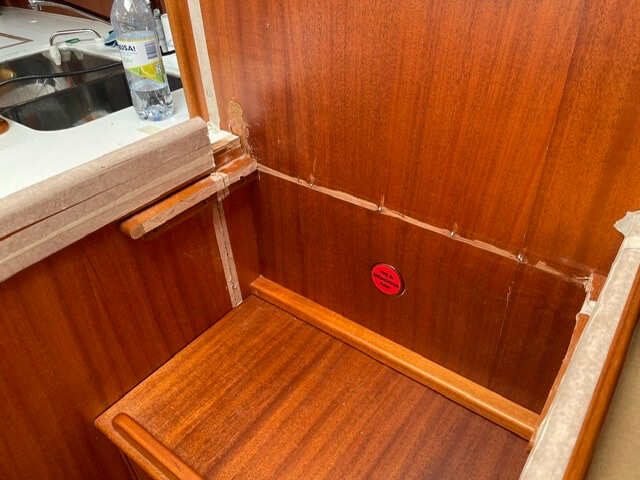
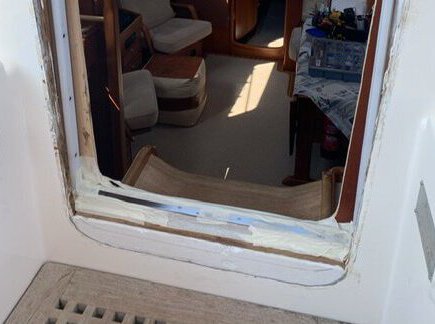
- 1. Outside U-frame removed
-
- 2. Inside U-frame removed
-
- 3. U-frames both gone
-
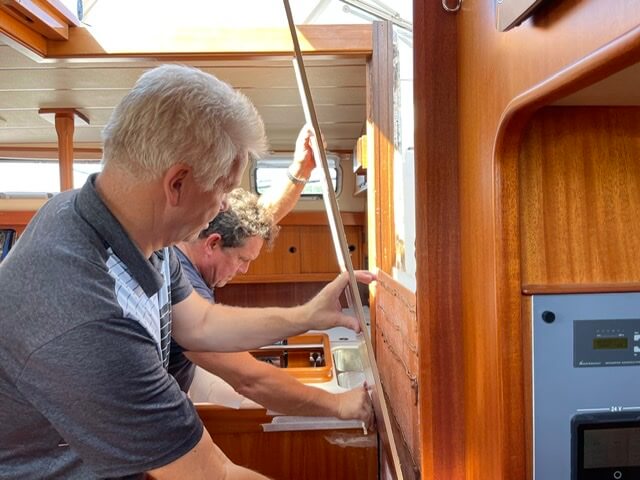
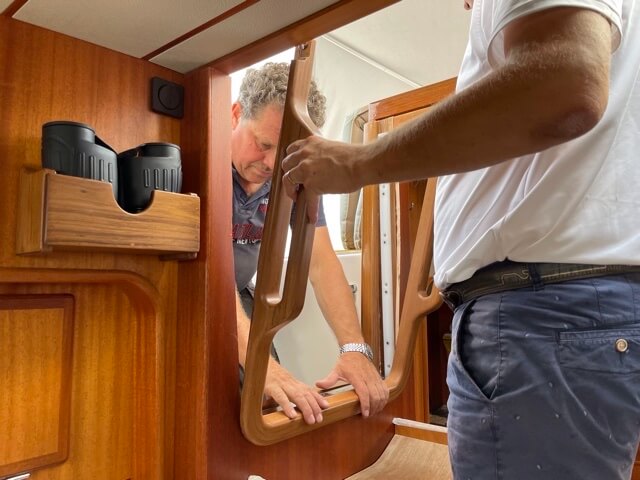
- 4. Measuring new entrance
-
- 5. Remove shoe shelf and make room for polyester bin
-
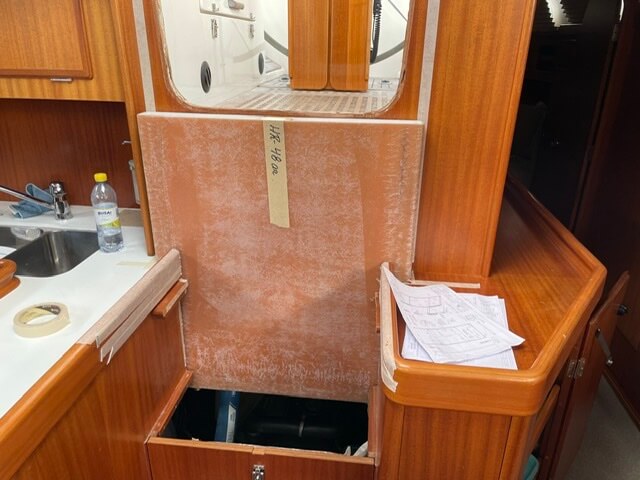
- 6. Installation of waterproof polyester box where door is galvanized
-
- 7. Cutting U-frame into two parts
-
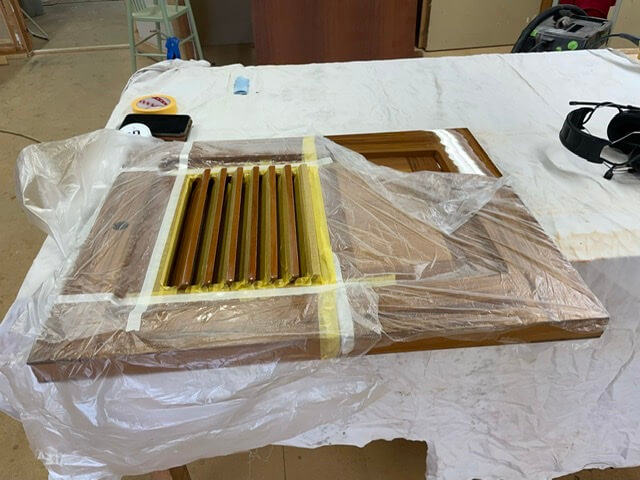
- 8. Painting U-frames.
-
- 9. Painting cover board polyester tray inside
-
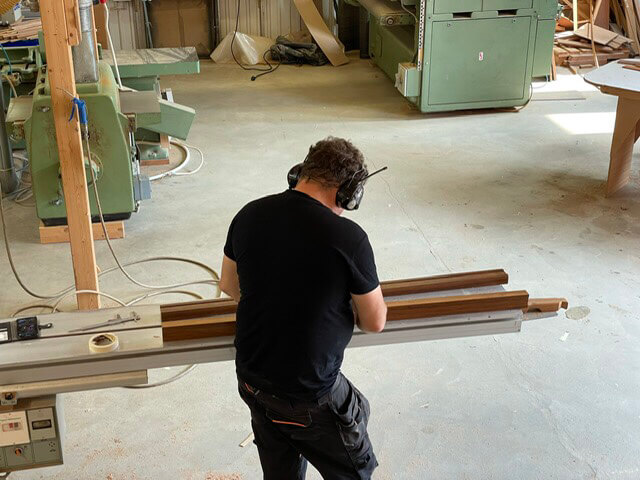
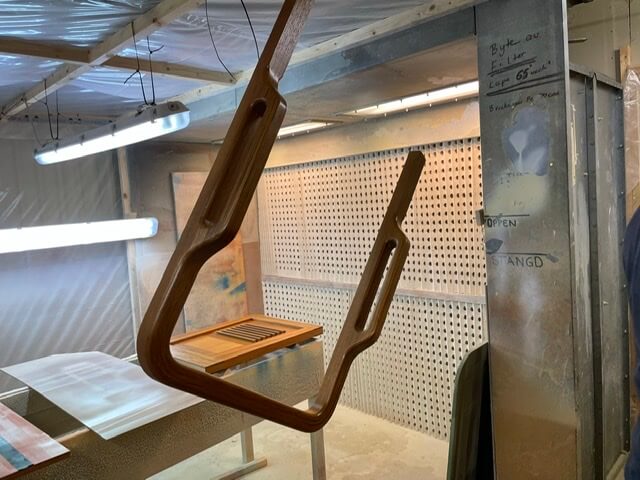
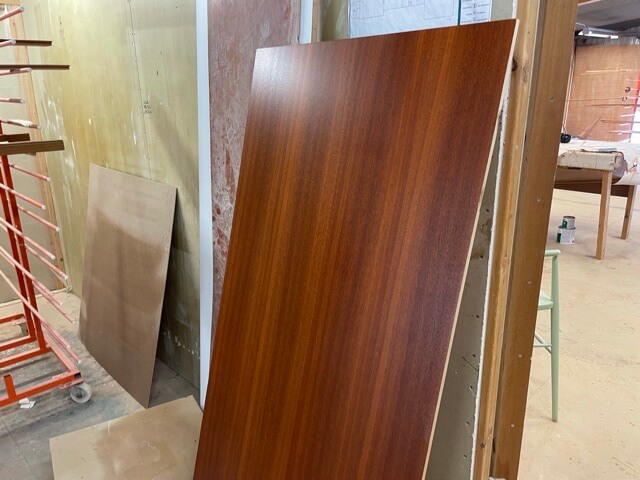
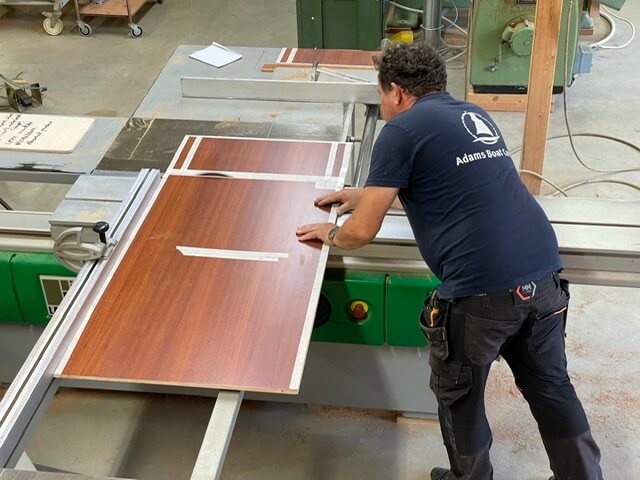
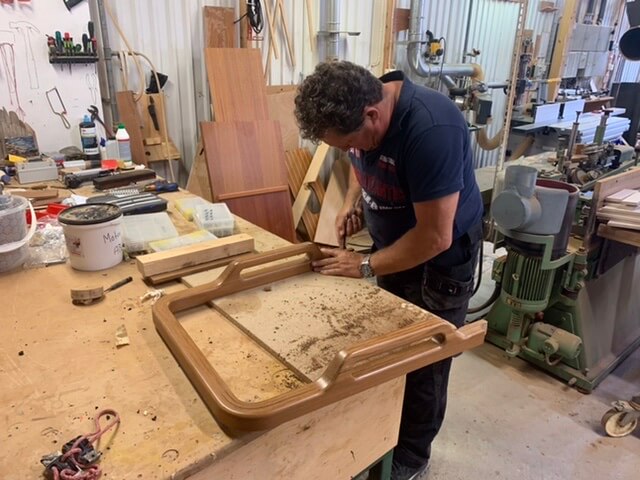
- 10. Cut to size teak beams for slide rails door
-
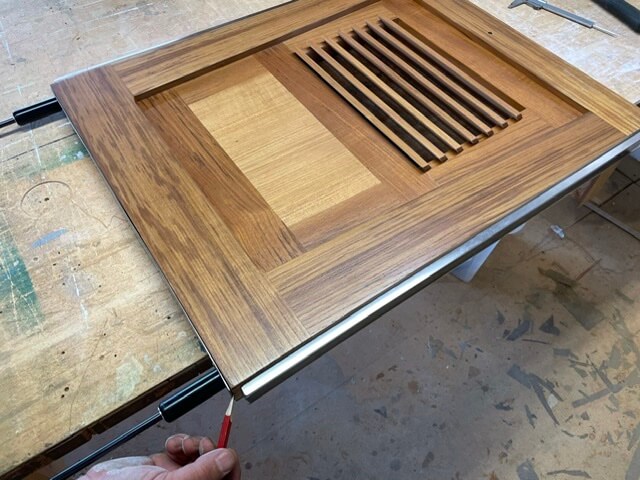
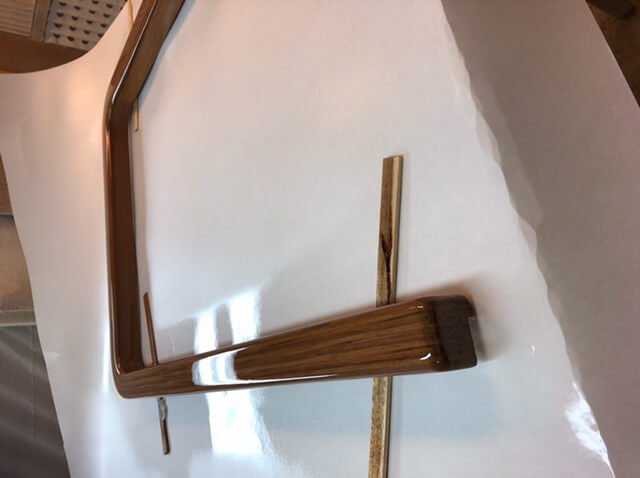
- 11. Install aluminum frame and shock absorbers on new door
-
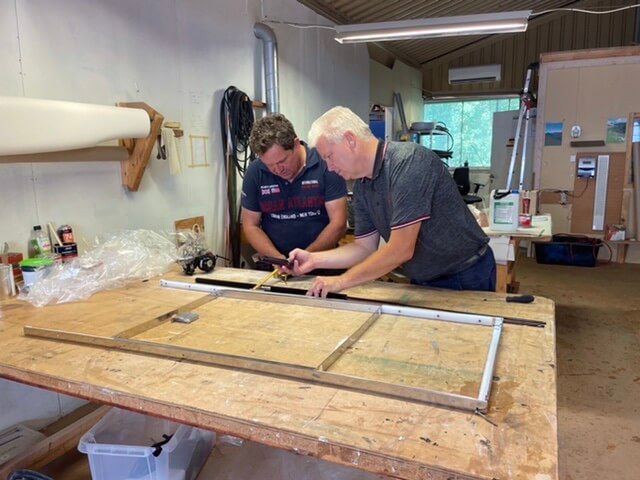
- 12. Measuring out construct to be able to countersink door
-

- 13. Teak sides mounted
-

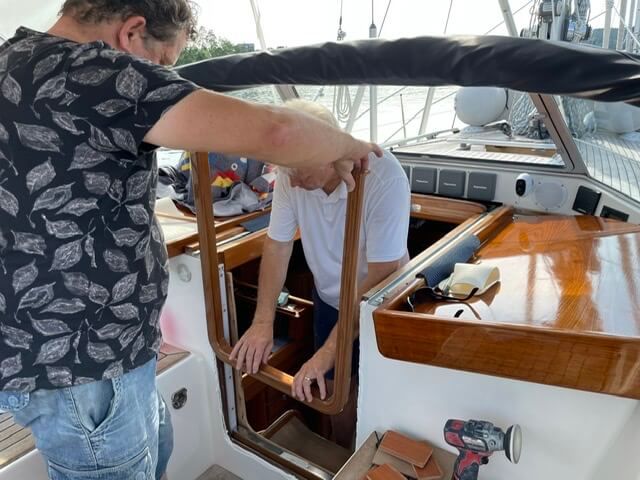
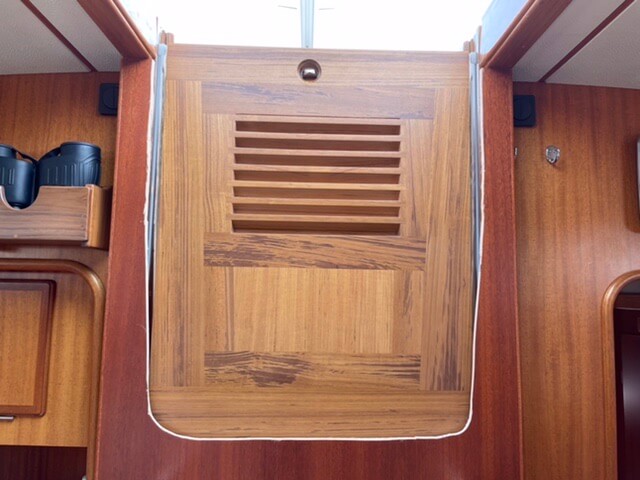
- 14. Entire construct is in it temporarily - door down
-
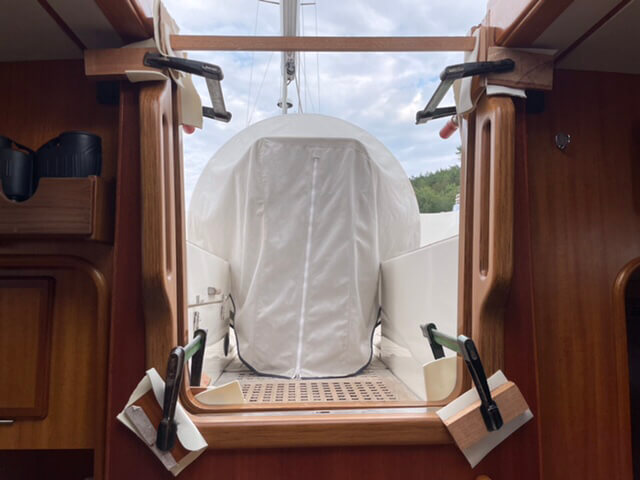
- 15. Entire construct is in it temporarily - door upstairs
-

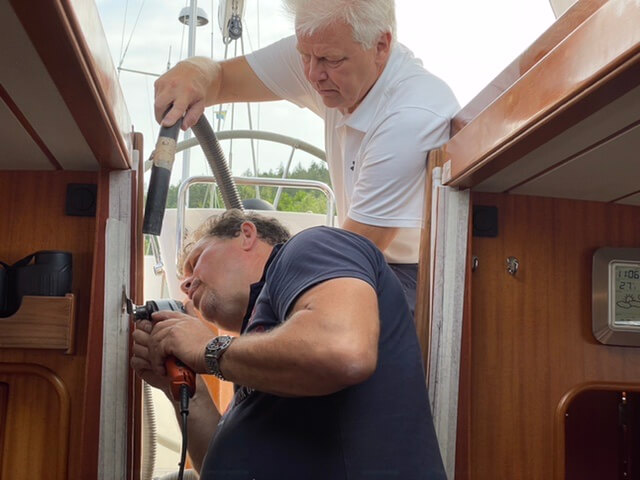
- 16. Discuss construct with Glen from HR
-
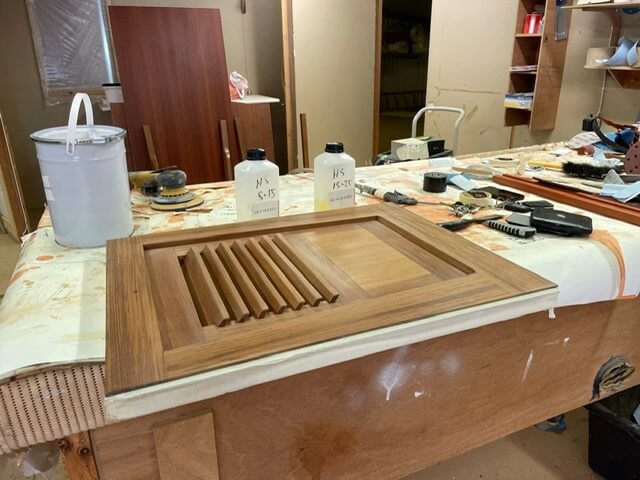
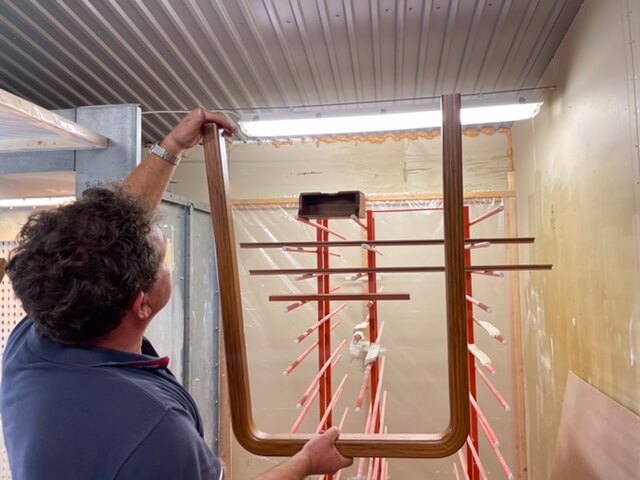
- 17. Painting the door multiple times
-
- 18. Polyester body permanently glued in place
-
- 19. Sawing cover board
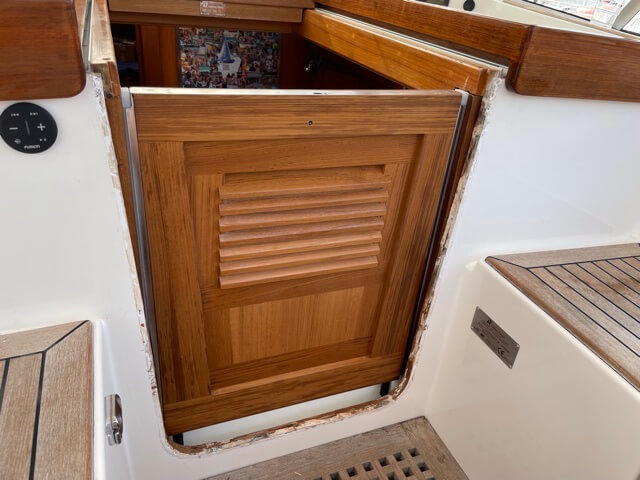
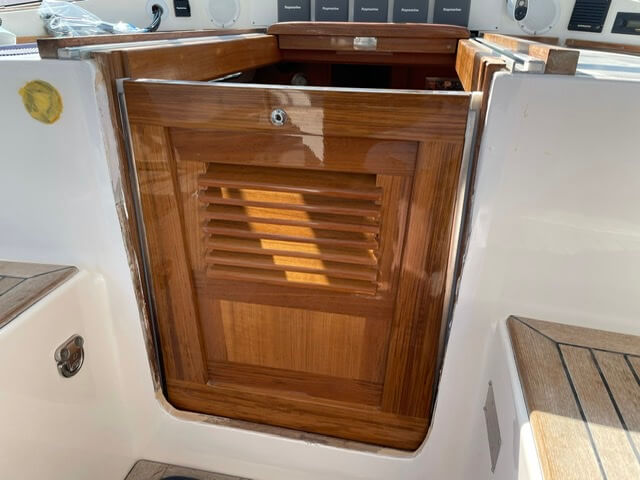
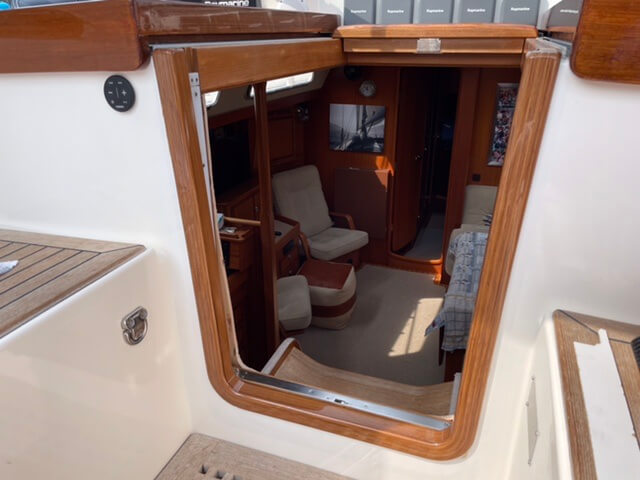
-
- 20. Gluing cover board
-
- 21. With a nice result
-
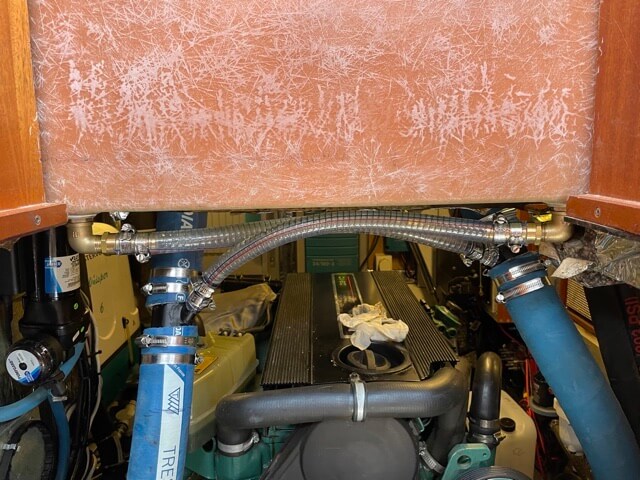
- 22. Connecting drainage from polyester box to tub drainage
-
- 23. Front door glossy paint
-
- 24. Customize U-frame exterior
-

- 25. New shoe shelf
-
- 26. Fill white around U-frame exterior
-
- 27. White around U-frame exterior further filling
-
- 28. White around U-frame exterior is neatly painted
-
- 29. Neatly painted even with the door closed
-
- 30. Exterior U-frame glossy paint
-
- 31. Glue in external U-frame
-
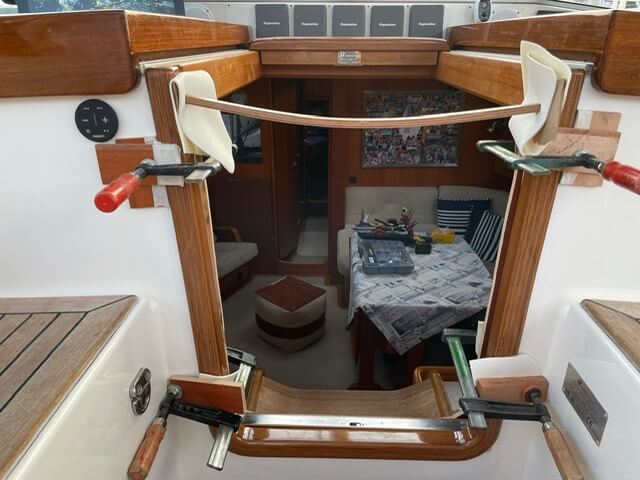
- 32. Outside U-frame is fixed overnight with clamps
-
- 33. With a nice result
-
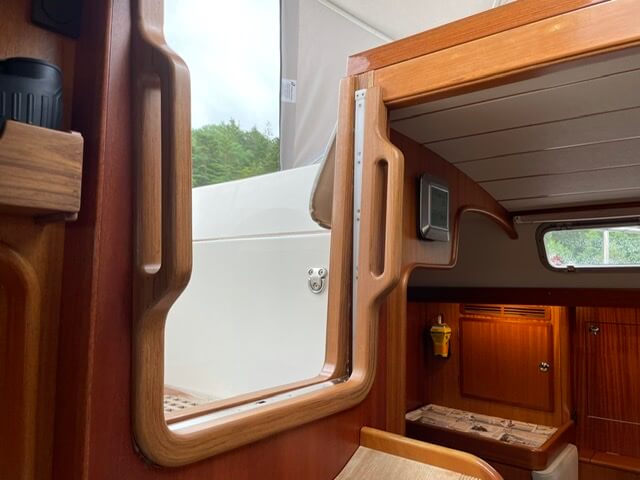
- 34. Cutting to size for U-frame inside side
-
- 35. Precisely cut to size
-
- 36. Cutting to size U-frame inside
-
- 37. Glue inner U-frame in place
-
- 38. Inside U-frame is secured overnight with clamps
-
- 39. With a nice result
-
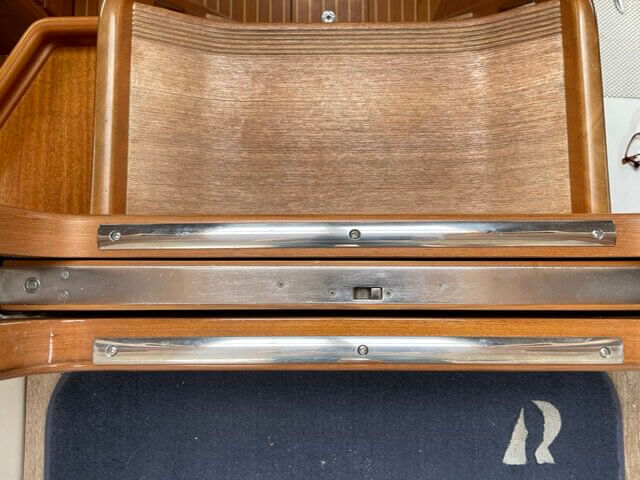
- 40. Beautiful stainless steel protective strips on the U-frames
-
- 41. Attach new lock
-
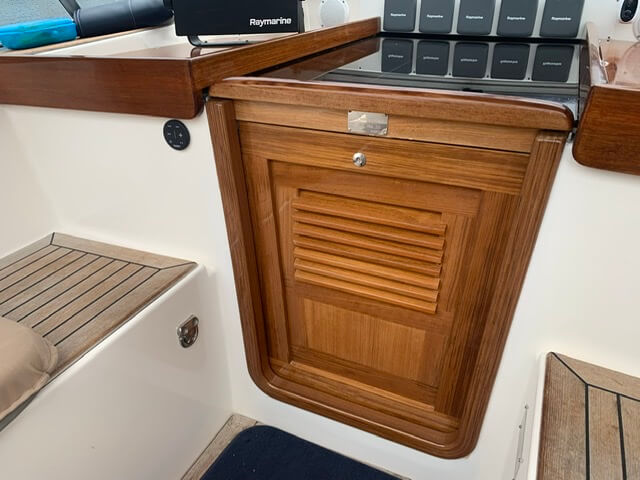
- 42. It's finished!!!! 😊😃
The new entrance is much more practical to use. You only need to give the door a push to open and close it. Also, the door is much sturdier than the old shutters and therefore better and easier to close. And it looks nicer, both inside and out. It was quite a 'delivery', but we are very happy with it 😊👌😊.